
Implant Library
Status 01.09.2022
To download our implant library, you will be redirected to our cloud server.
- Save all files or all required implant systems on your computer
- The download may take a few minutes
- Unzip the zip file
- Place the unzipped folder under C:\Programme\PROMADENT\Biss [current version]\implants
- Restart BiSS
Have fun! :)
Disclaimer: Some of the products of the entire implant library shown in the Software may not have regulatory clearance for all countries.
Expand implant library independently?
No problem, with our step by step guide
Facts and requirements
- allowed file formats are .stl, .ply and .obj
- only 2-3 files are needed -> Scanbody, Analog [and if necessary a symmetry.txt file]
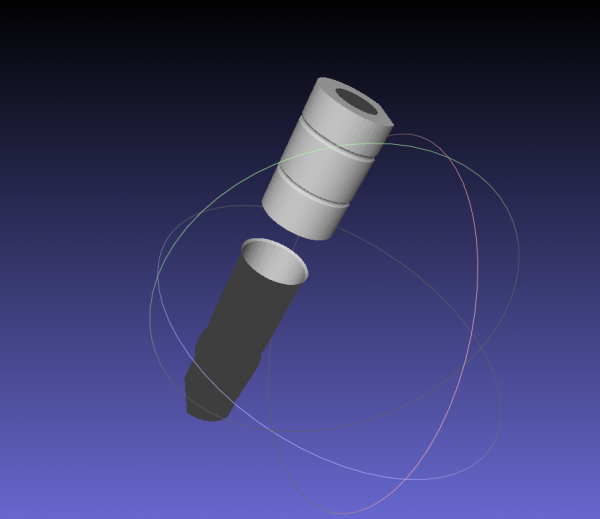
- the file for the scanbody needs a normal pointing outwards
- the file for the analog needs the outer shell of the analog. Additionally, it needs at least one hole pointing upwards, towards the scanbody. For a hole for a screw from Basal, the file also needs a hole downwards
- scanbody and analog must be lined up along a coordinate axis in a common coordinate system (which axis [x, y, z] doesn't matter, Biss finds that out automatically)
- you can check the files in the program MeshLab. The analog has a light area inside and the scanbody has a light area outside.
Instructions - Variant 1
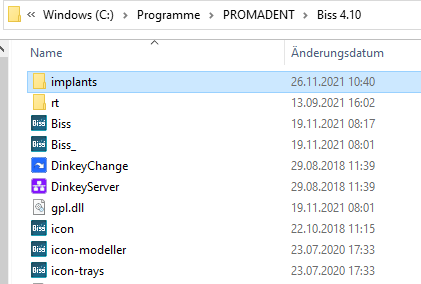
1. go to C:\Programs\PROMADENT\Biss [current version]\implants
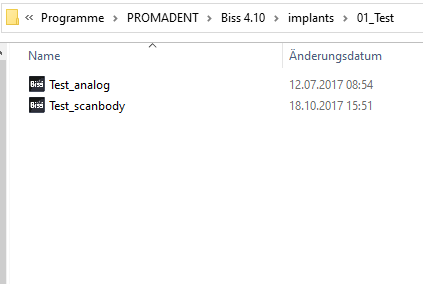
3. Insert the 2-3 files into the created folder and rename the analog record to "[...]_analog" and the scanbody record to "[...]_scanbody" so that the files are recognized.
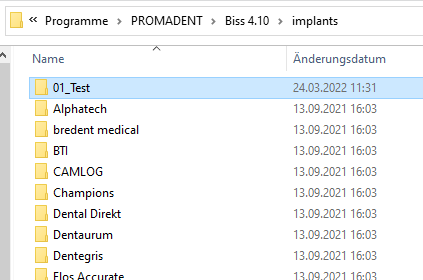
2. Create any subfolders, e.g. sorted by manufacturers and diameters. IMPORTANT: Each implant geometry requires a separate folder, each containing only the 2-3 files listed above.
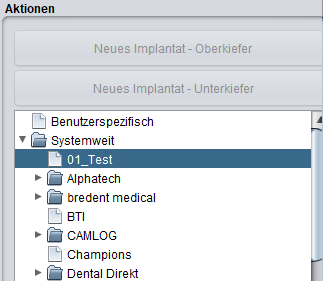
4. When you reopen BiSS, you will find the inserted folders in the "Implants" step on the left under "System-wide.
Instruction - Variant 2
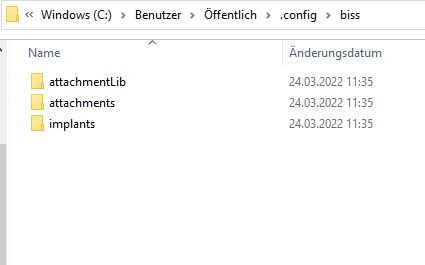
1. Go to C:\user\[current user]\.config\biss. Create a new folder here with the name "implants".
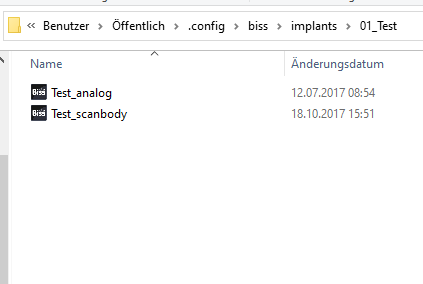
3. Insert the 2-3 files into the created folder. To recognize the files, rename the analog record to "[...]_analog" and the scanbody record to "[...]_scanbody".
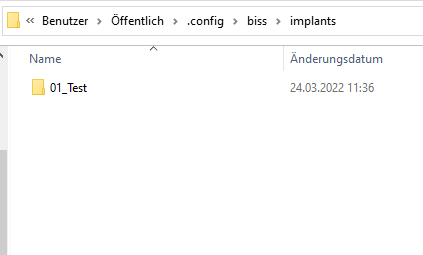
2. Create any subfolders, e.g. sorted by manufacturers and diameters. IMPORTANT: Each implant geometry needs a separate folder containing only the 2-3 files listed above.
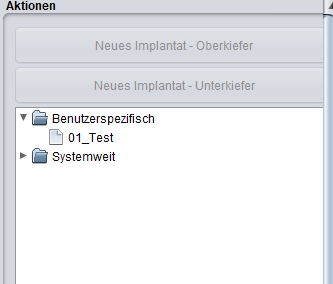
4. When you open BiSS again, you will find the inserted folders in the "Implants" step on the left, under "User-specific"